Imagine a website without style—just plain text and unstructured content. Pretty boring, right? Now imagine visiting a website that instantly grabs your attention with vibrant colors, clean layouts, and elegant typography. Those colors and looks aren’t magic; it’s CSS. In this guide, we will cover the basics of CSS, examples of its use, and why it is so important. By the end, you’ll be ready to style your websites to create professional-looking pages.
What is CSS?
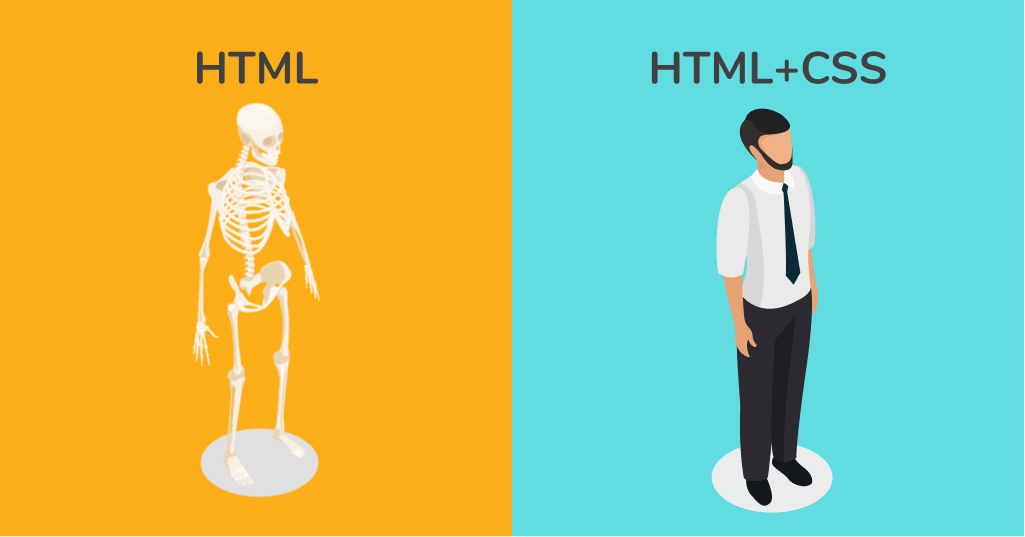
Cascading Style Sheets is a coding language used to style a document written in markup languages. The first version was invented in 1996 and it still plays a major role in web design today by enhancing the page’s appearance and applying styles to HTML elements. It controls visual properties such as colors, fonts, and positioning of web content. CSS saves a lot of work and time. It can control the layout of multiple web pages all at once. It can also be beneficial to your website in ways beyond looks. Using styling, you can allow for faster page speeds, enhance the user experience, and save time and effort in web development.
An important thing to remember is to keep consistency across pages. You can do this by using an external stylesheet. With it, you can keep the same styles across multiple website pages.
Let’s say you decide to change the color scheme of your website, you only need to update the stylesheet once. This way the changes will apply across all pages making it more accessible and saving time. When using internal CSS, the styles are confined to the specific page, which helps avoid conflicts with styles on other pages. This approach guarantees that the CSS rules defined within the style tag in the head section apply only to that document. If you are still confused here’s a more detailed explanation from W3schools.
Why Should I Learn This?
Cascading Style Sheets is a must-learn for anyone interested in web design. It takes good content on a webpage and transforms it into something attractive and user-friendly. Without it, your website would just be a big giant paragraph with no structure or design. Here are a few reasons why to learn it.
- Consistency: You can create styles that apply to multiple pages, giving your website a professional and unified look.
- Efficiency: Instead of styling every element individually, it lets you apply a single style to all similar elements. This saves time and effort which is most important in today’s world.
- Responsive Design: It allows websites to adapt to different screen sizes. Whether you’re browsing on a phone, tablet, or computer, CSS ensures the site looks great.
- Creativity: It gives you the freedom to express your creativity through colors, animations, layouts, and more.
How to Get Started
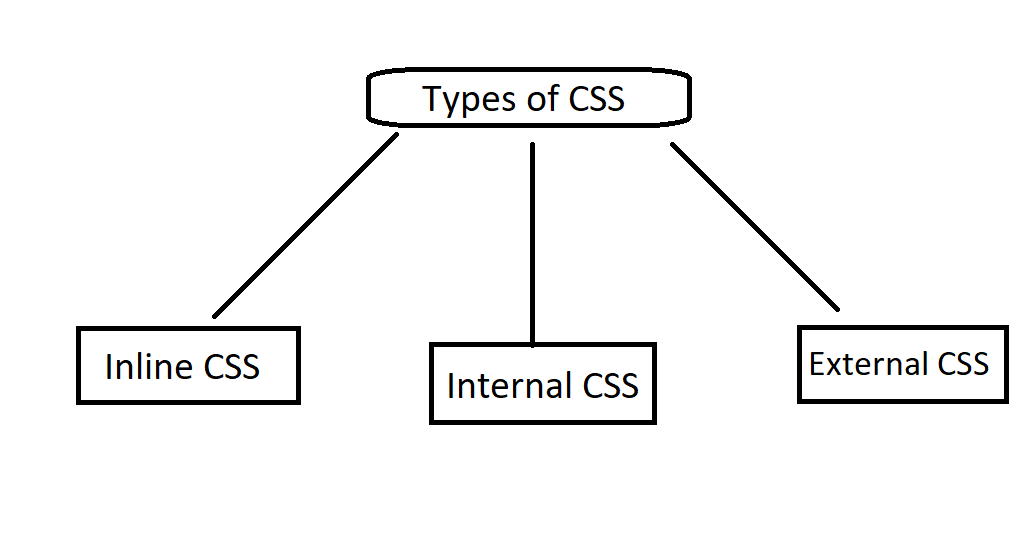
Getting started might seem intimidating at first, but it’s pretty straightforward once you understand the basics. Here are the three main ways to apply styling to your HTML code:
- Inline: This is written directly inside an HTML tag using the style attribute. It’s simple but it is not practical for bigger projects.
- Example:
<h1 style="color: red;"> This text is red</h1>
- Internal: This is written inside a
<style>tag in the<head>section of your HTML document. This is good if you use a single-page document and don’t want to use the external method. - Example:
<style> body { background-color:blue;}</style>
- External: This is the most efficient method if you plan to use bigger projects. You save your styles in a .css file and then link it to your HTML document.
- Example:
<link rel="stylesheet" href="styles.css">
Targeting HTML Elements
CSS selectors are powerful tools for targeting and styling specific elements on your page. There are different types of selectors. Type selector targets all elements of a specific type. Class Selector targets elements with a specific class. ID Selectors target a unique element with an ID. Each has its own functions.
Understanding CSS Selectors
Selectors are one of the most important parts of CSS. They determine which HTML elements get styled. Here are the most common types of selectors.
- Type selector: Targets all elements of a specific type.
- Ex:
- Class selector: Targets elements with a specific class. Use a period (.) before the class name.
- Ex:
- Id selector: Focuses a single, unique element with an ID. Use a hashtag (#) before the ID name..
- Ex: